What makes a knish so marvelous to eat? The filling can be anything as long as it is the right consistency and tastes good, and the crust is a container that adds texture and flavor without either falling apart or turning to mush. Crusts without gluten or oil seemed a decent challenge, so I put it off until the blueberries came in and solved that with a pressed biscuit style dough. Now I wanted a crust I could roll out, something I could fill with the fresh zucchini and Japanese sweet potato that I had sitting on my kitchen counter. My thoughts turned to tortillas. Of course! Masa Harina makes a great rolled surface, but could I change it in the right ways to handle baking something in it? What happened was so delicious, easy, and seems to offer great variation in terms of making savory little "pies."

CRUST:
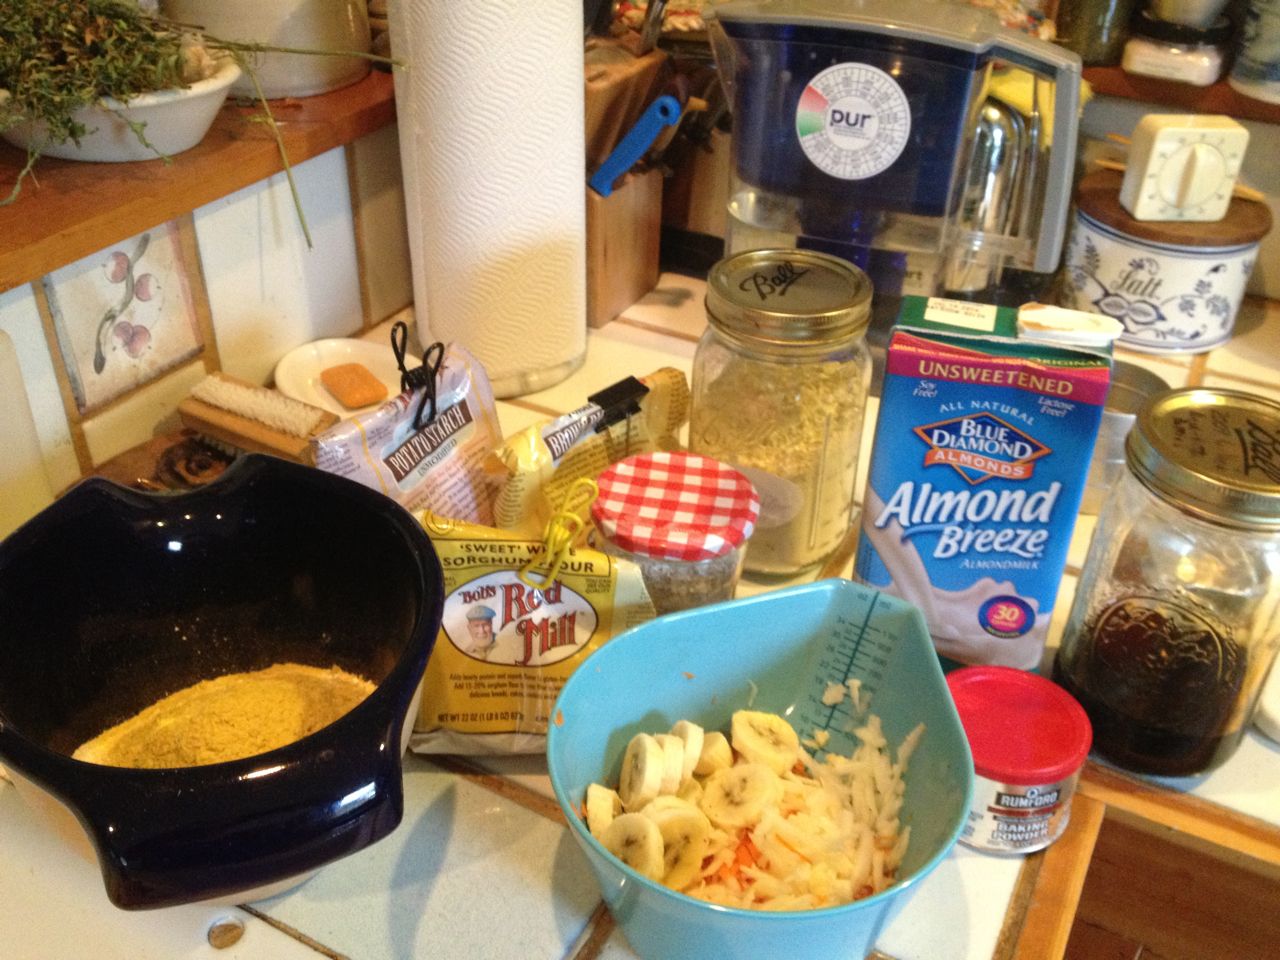
1 cup Masa Harina
2/3 cup hot water
1/4 - 1/2 tsp salt
1 tsp baking powder
1/4-1/2 cup sorghum flour
1.5 Tablespoons original almond milk
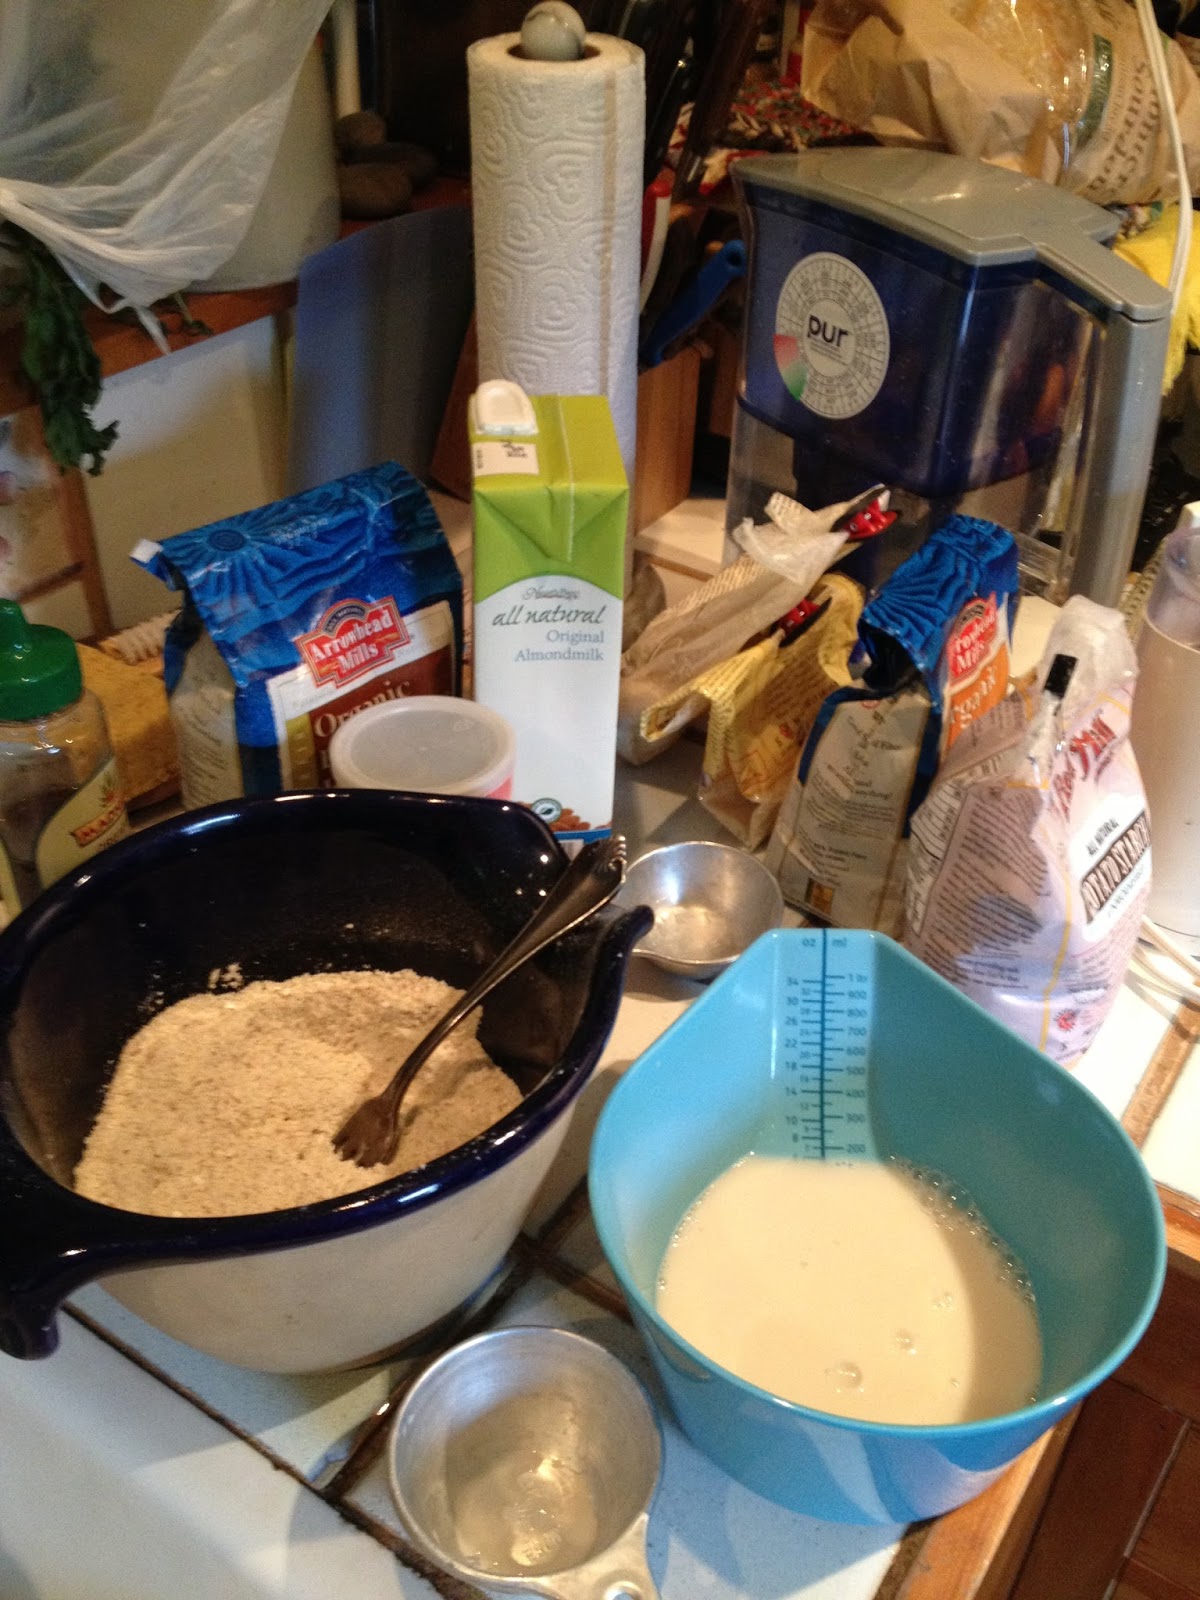
Mix the hot water and the salt and Masa Harina. It will be sticky. Add the baking powder, sorghum flour and almond milk and mix well. It will be spongy and light. Separate into 6 pieces (or smaller ones for many small knishes), and let rest while you get the filling ready.

THE FILLING:
2 cups grated zucchini, 1/2 a large or one whole medium size
2 cups grated Japanese (white) sweet potato (or regular potato or regular sweet potato!)
1/2-1 cup minced onion or scallions (I used 7 small scallions because they needed to be used up)
2/3 cup chick pea flour

1/2 - 1 Tablespoon parsley (fresh, fresh dried)
1 tsp fresh cilantro
1/4-1/2 tsp salt (to taste)
1/2 cup soy milk
1/2 tsp of Sriracha (or other hot sauce) if you like a hint of heat
TO FINISH:
a dash of Bragg Liquid Amino for each knish
a shake of sesame seaweed Gomasio on the top of each little "pie"
Mix the zucchini, potato, onion, parsley and cilantro. Mix the chick pea flour with the salt then add the soy milk and stir into a thick paste. Combine this paste into the vegetables, stirring well.
ASSEMBLY:

Pre-heat your oven to 350F. Using a silicone baking sheet, set three dough balls across one long side, about 2 inches in from the edge. Putting a piece of wax paper over them, roll them out with a rolling pin to be nearly tortilla sized. Plop about 1/6 (at least 1/2 cup) of the filling in the middle and then gently peel up the edges into a ruffled cup. Taking a clean piece of wax paper, set the next 3 balls out and put the used wax paper on top, rolling these out to a similar size. Peel the top paper away, and gently peel the flattened dough circles onto the other long edge of the silicone sheet. Put filling in each of these, and curl the sides up. Top off these darling little knishes with a splash of Bragg Liquid Amino and a shake of Gomasio. Carefully pick up the long edges of the silicone sheet and place it on a large cookie sheet.

Bake for 40 minutes or until crisp and fully cooked in the middle. We loved them with mustard, with horseradish, and even with kimchee!


 Plop extra large tablespoon ovals onto a non-stick silicone baking sheet, on a cookie sheet or other pan. Allow 35-40 minutes for baking but set your timer for 25 minutes and test for doneness, being ready to put them back in for up to 10 more minutes.
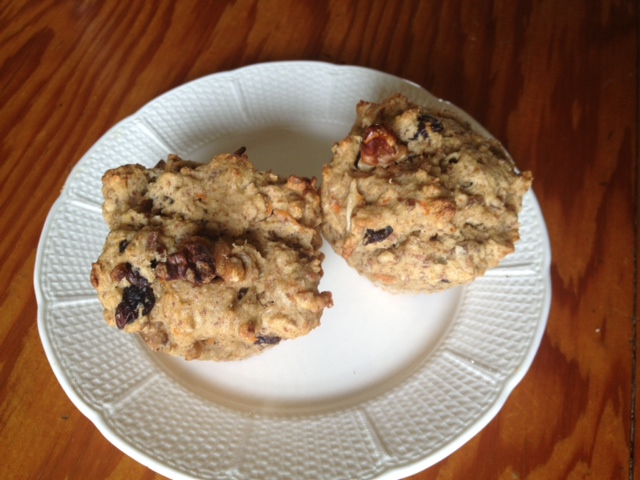


.JPG)


