I first made these with fresh apricots, then the blueberries started ripening, and the last version I used some plums as a backdrop to the day's pick of blueberries. Consider this a template for a scone into which you can interject fruits, nuts and various seeds/flour and levels of sweetness. If you bake them 20-25 minutes at 375F they will be lovely, and if you leave them another 5-10 minutes they will be crisp on the outsides, while still moist inside.
Berry & Fruit Scones - makes 6 good sized scones

1/2 cup brown rice flour
1/2 cup sorghum flour
1/2 cup potato starch
2 Tbsp flax seeds, ground
1 Tbsp amaranth, ground
2 Tbsp walnuts, ground - or use 2 Tbsp Almond Meal Flour
1/2-2/3 cup walnuts - pieces
1.5 tsp baking powder
1/4 tsp sea salt
1 tsp cinnamon
2 Tbsp "Truvia" (Stevia + sugar) or use maple syrup or agave
1/2 cup original unsweetened soy or almond milk
2 apricots or 2 plums - peeled and mashed
1 cup berries, gently mashed in part, leaving some whole(I used mixed blackberries/raspberries and then straight up blueberries)
1. Heat up your oven.
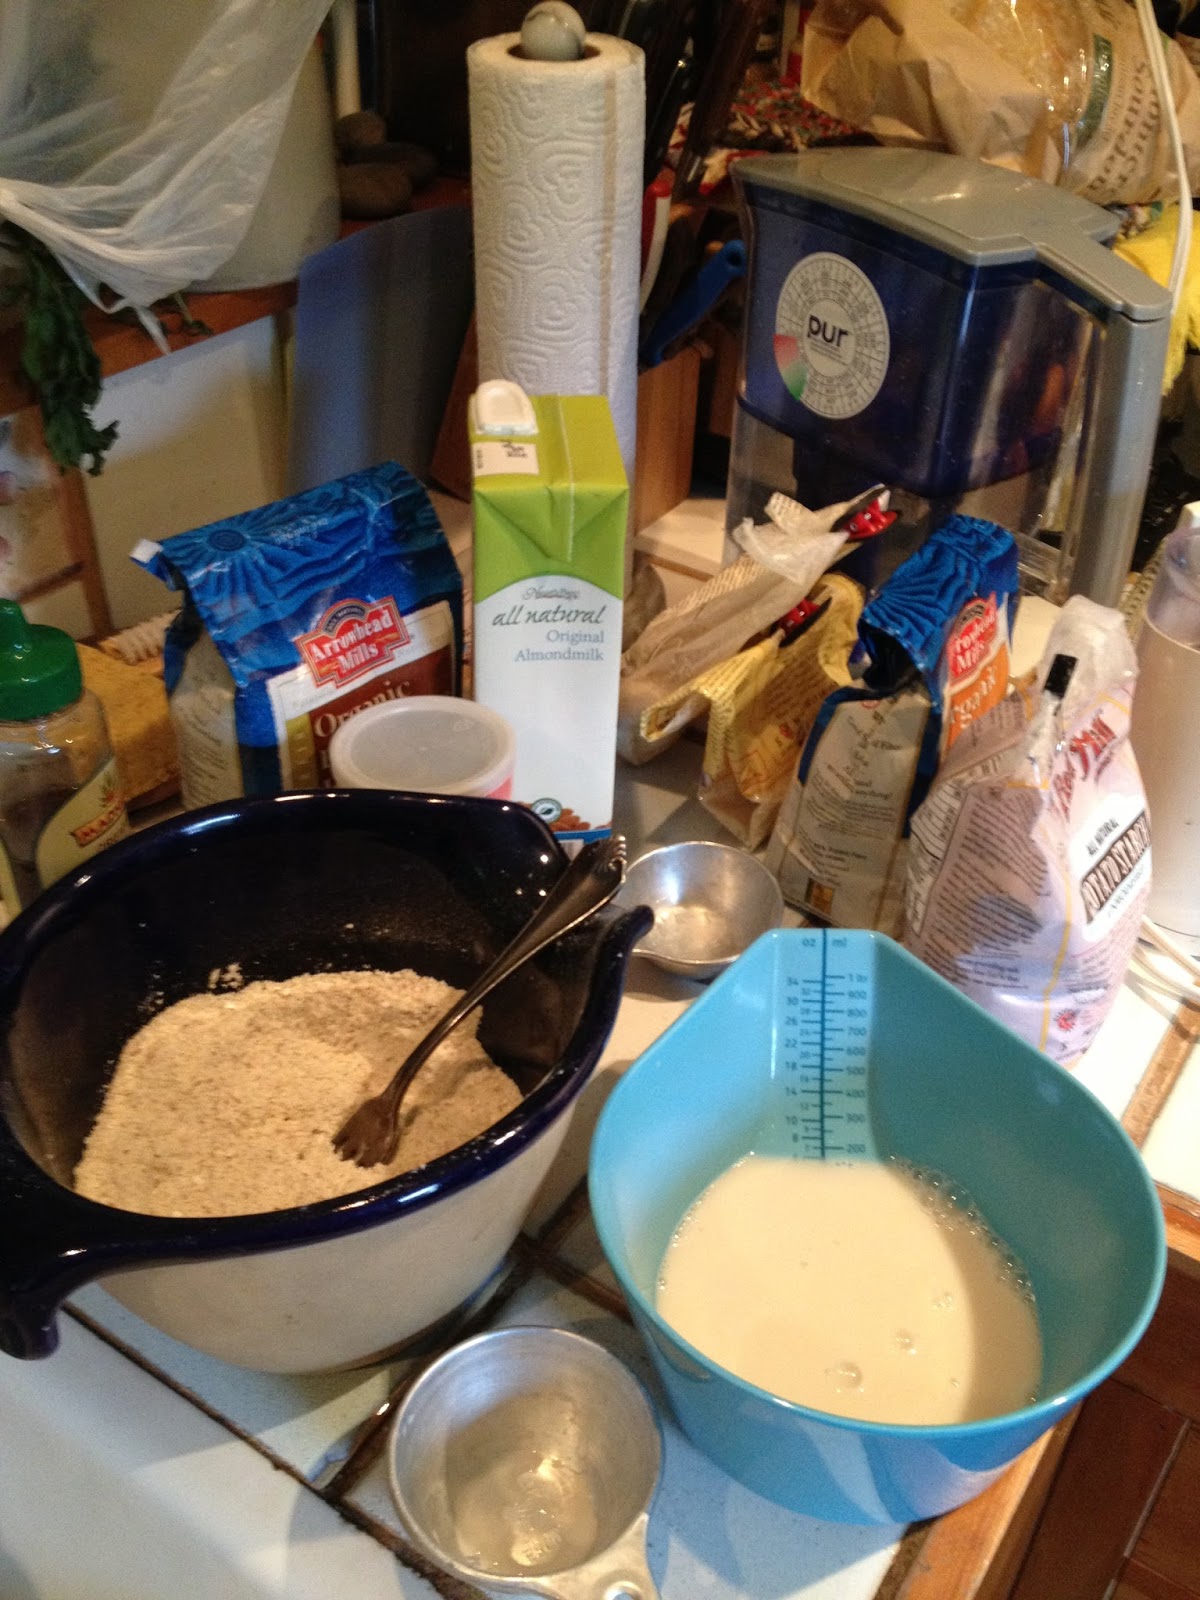
 2. Grind up the materials that need to be ground, and put these in a medium sized bowl. Add the rest of the dry materials - flours, starch, baking powder, salt, cinnamon and "Truvia" if you are using dry sweetener, combining this until it is one flour-like substance.
 3. Mix all the moist materials in another bowl - mash the apricot or plum (or banana or pear) first, add berries and gently mash, add liquid syrupy sweetener to this if you are using that, and the soy or almond milk.
4. Stir the wet together, and then add it to the dry, stirring gently but combining thoroughly. Stir in the nut pieces. This will be more like a moist dough than a batter.
5. Set out your silicone baking sheet (I put it on a cookie sheet) and with a large spoon, plop six 3"x 2.5" scones-to-be. Bake for 20-30 minutes depending upon how crisp you like the outside.