Friday, August 23, 2013

Fresh Berry & Fruit Scones


I first made these with fresh apricots, then the blueberries started ripening, and the last version I used some plums as a backdrop to the day's pick of blueberries. Consider this a template for a scone into which you can interject fruits, nuts and various seeds/flour and levels of sweetness. If you bake them 20-25 minutes at 375F they will be lovely, and if you leave them another 5-10 minutes they will be crisp on the outsides, while still moist inside.

Berry & Fruit Scones - makes 6 good sized scones


1/2 cup brown rice flour
1/2 cup sorghum flour
1/2 cup potato starch
2 Tbsp flax seeds, ground
1 Tbsp amaranth, ground
2 Tbsp walnuts, ground - or use 2 Tbsp Almond Meal Flour
1/2-2/3 cup walnuts - pieces
1.5 tsp baking powder
1/4 tsp sea salt
1 tsp cinnamon
2 Tbsp "Truvia" (Stevia + sugar) or use maple syrup or agave
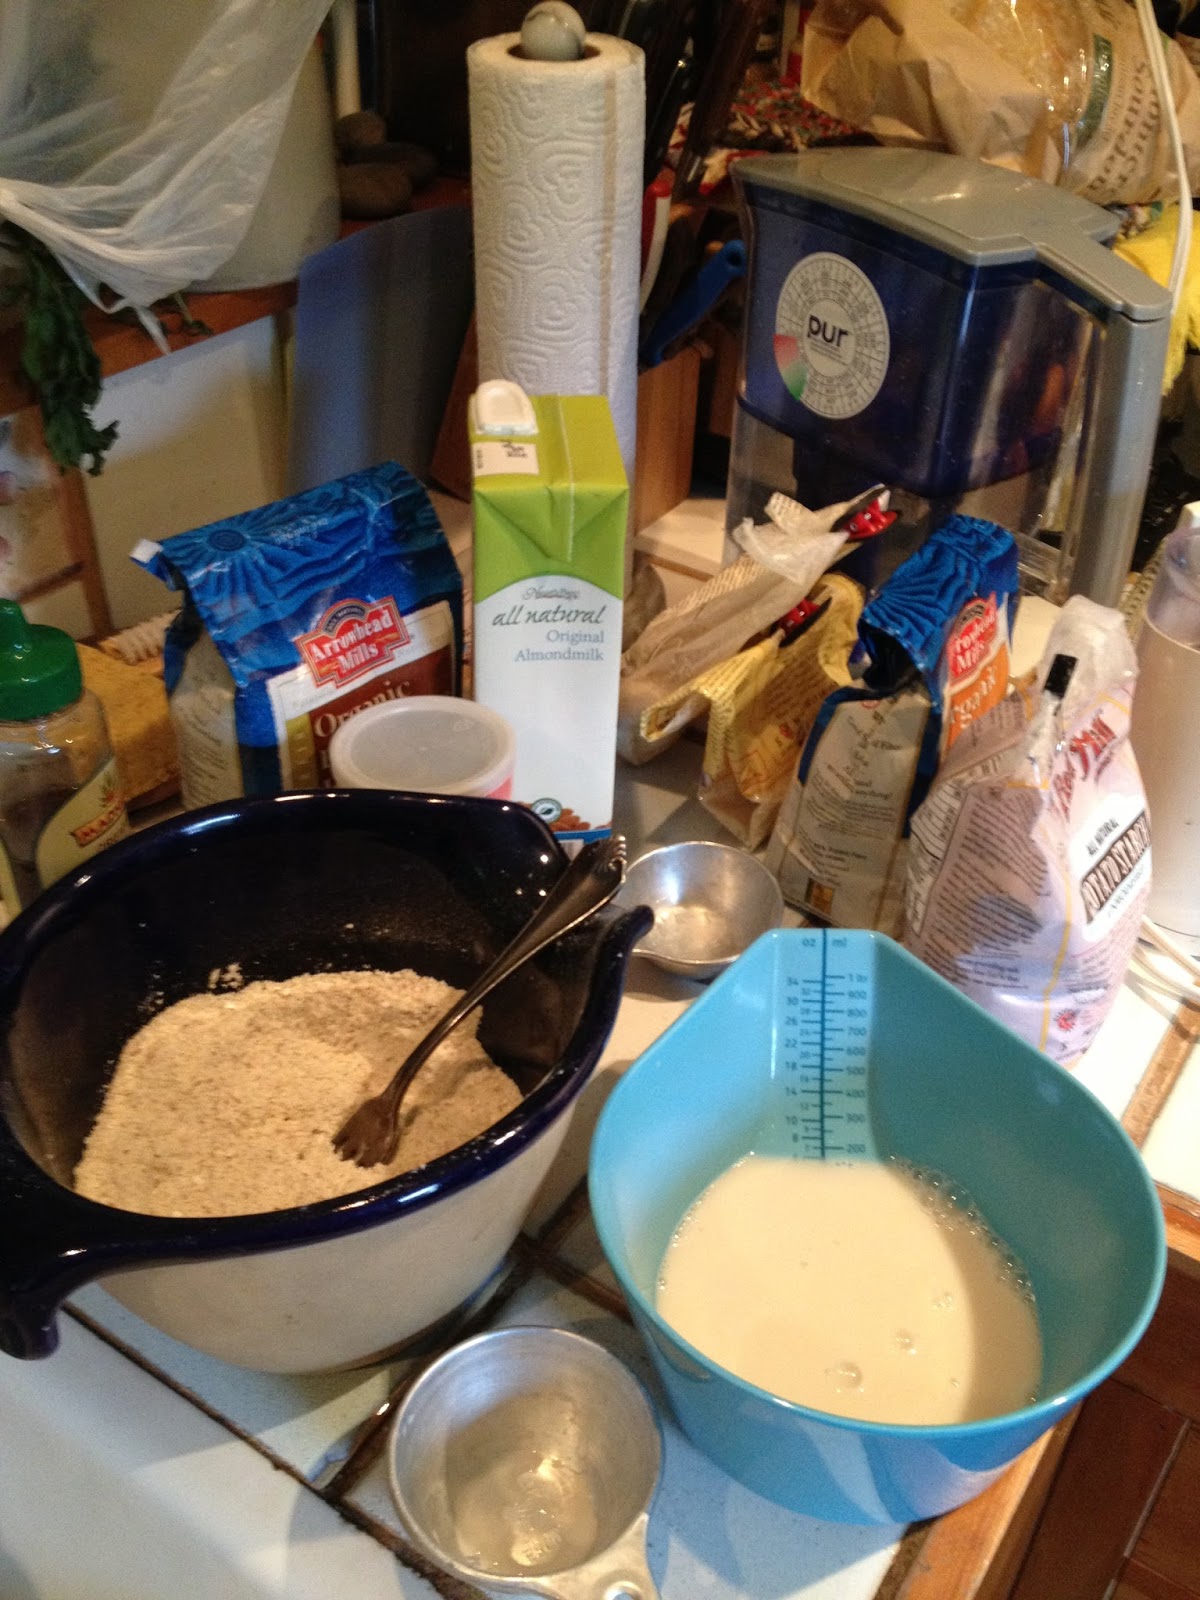
1/2 cup original unsweetened soy or almond milk
2 apricots or 2 plums - peeled and mashed
1 cup berries, gently mashed in part, leaving some whole(I used mixed blackberries/raspberries and then straight up blueberries)

1. Heat up your oven.
2. Grind up the materials that need to be ground, and put these in a medium sized bowl. Add the rest of the dry materials - flours, starch, baking powder, salt, cinnamon and "Truvia" if you are using dry sweetener, combining this until it is one flour-like substance.
3. Mix all the moist materials in another bowl - mash the apricot or plum (or banana or pear) first, add berries and gently mash, add liquid syrupy sweetener to this if you are using that, and the soy or almond milk.
4. Stir the wet together, and then add it to the dry, stirring gently but combining thoroughly. Stir in the nut pieces. This will be more like a moist dough than a batter.
5. Set out your silicone baking sheet (I put it on a cookie sheet) and with a large spoon, plop six 3"x 2.5" scones-to-be. Bake for 20-30 minutes depending upon how crisp you like the outside.


Apricot Tart


We couldn't resist the fresh apricots when they began to appear from the local orchard. Of course we ate 3 of them on the way home in the car, but then there were the rest to think about. The next morning, it was all I could think about... and I wondered how to make one of those beautiful pastries that we had encountered in Europe decades ago. Not having made them when I was using butter and eggs and sugar and wheat flour, I didn't have to undo any ideas, just come up with a way to put a dough under them and a glaze over them. Here's what I came up with.

Apricot Tart - (makes 6" x10" pastry)
oven at 350F


2 fresh ripe apricots
2 Tbsp flax seed, ground (I'm doing this all the time for the sake of Omega 3's)
2 Tbsp almond meal
1/3 c potato starch (just figuring out what this adds to texture)
3/4 c brown rice flour
2 TBSP oat bran (avoid if must be purely gluten free)
2 TBSP chick pea flour
1/4 tsp baking powder
1-2 TBSP agave (how sweet do you need the pastry to be?)
1 tsp cinnamon
1/4 c almonds (sort of slivered)

For glaze: 1-2 tsp maple syrup, 1 tsp almond milk + cinnamon

1. Peel and slice, or slice and peel apricots.
2. Mix together all the dry ingredients, and wet ingredients separately.
2. Add wet to dry and gently knead into a soft ball of dough an roughly shape this into a thick rectangle.
3. Spread out a the silicone baking sheet on a baking pan and put the dough on it, gently pressing it outward from the middle until you achieve a little bigger than 6"x10" or thereabouts. Make 2 sets of indentations up the length of the dough, approximately an apricot slice wide (see picture). Lay in the apricot slices in 3 rows. Sprinkle this with almond slivers.
4. Mix up the glaze and drizzle it all over the apricots. My husband thought it could have used more sweetness in the glaze or just more glaze... He likes things sweeter than I do, but I agreed with him that a little more would have been nice. You could use honey instead of maple syrup, or sugar, if you are a sugar-eating person.
5. Bake for about 20 minutes - check for doneness with a toothpick. Let cool just a bit before you try to handle it... then peel it off the silicone and put it on a nice plate for effect!


Thursday, August 1, 2013

Knish Delish: Masa Harina Crusted Zucchini Potato "Pies"


What makes a knish so marvelous to eat? The filling can be anything as long as it is the right consistency and tastes good, and the crust is a container that adds texture and flavor without either falling apart or turning to mush. Crusts without gluten or oil seemed a decent challenge, so I put it off until the blueberries came in and solved that with a pressed biscuit style dough. Now I wanted a crust I could roll out, something I could fill with the fresh zucchini and Japanese sweet potato that I had sitting on my kitchen counter. My thoughts turned to tortillas. Of course! Masa Harina makes a great rolled surface, but could I change it in the right ways to handle baking something in it? What happened was so delicious, easy, and seems to offer great variation in terms of making savory little "pies."


CRUST:
1 cup Masa Harina
2/3 cup hot water
1/4 - 1/2 tsp salt
1 tsp baking powder
1/4-1/2 cup sorghum flour
1.5 Tablespoons original almond milk

Mix the hot water and the salt and Masa Harina. It will be sticky. Add the baking powder, sorghum flour and almond milk and mix well. It will be spongy and light. Separate into 6 pieces (or smaller ones for many small knishes), and let rest while you get the filling ready.

THE FILLING:
2 cups grated zucchini, 1/2 a large or one whole medium size
2 cups grated Japanese (white) sweet potato (or regular potato or regular sweet potato!)
1/2-1 cup minced onion or scallions (I used 7 small scallions because they needed to be used up)
 2/3 cup chick pea flour
1/2 - 1 Tablespoon parsley (fresh, fresh dried)
1 tsp fresh cilantro
1/4-1/2 tsp salt (to taste)
1/2 cup soy milk
1/2 tsp of Sriracha (or other hot sauce) if you like a hint of heat

TO FINISH:
a dash of Bragg Liquid Amino for each knish
a shake of sesame seaweed Gomasio on the top of each little "pie"

Mix the zucchini, potato, onion, parsley and cilantro. Mix the chick pea flour  with the salt then add  the soy milk and stir into a thick paste. Combine this paste into the vegetables, stirring well.

ASSEMBLY:

Pre-heat your oven to 350F. Using a silicone baking sheet, set three dough balls across one long side, about 2 inches in from the edge. Putting a piece of wax paper over them, roll them out with a rolling pin to be nearly tortilla sized. Plop about 1/6 (at least 1/2 cup) of the filling in the middle and then gently peel up the edges into a ruffled cup. Taking a clean piece of wax paper, set the next 3 balls out and put the used wax paper on top, rolling these out to a similar size. Peel the top paper away, and gently peel the flattened dough circles onto the other long edge of the silicone sheet. Put filling in each of these, and curl the sides up.  Top off these darling little knishes with a splash of Bragg Liquid Amino and a shake of Gomasio. Carefully pick up the long edges of the silicone sheet and place it on a large cookie sheet.

Bake for 40 minutes or until crisp and fully cooked in the middle. We loved them with mustard, with horseradish, and even with kimchee!